1 - Location of Your Main Electrical Panel
We need to see an overview of the location of your outdoor main electrical panel. This panel should have a round utility meter in it. We’d ideally like to see the roof above and ground below the panel, along with the surrounding walls. This will help us with determining the best way to route the wiring.

2 - Main Panel Circuit Breakers
The circuit breakers and labeling inside your outdoor main electrical panel will help us confirm what larger electrical appliances your home has. We need to be able to read the numbers on the circuit breakers, along with any related circuit breaker labeling.
Sometimes this panel will only have one main circuit breaker.

3 - Main Panel's Manufacturer Label
Please share a picture of the manufacturer’s label on the backside of the cover for your outdoor main electrical panel. This label helps us determine the sizing of your electrical system. It will also tell us what specific circuit breakers will fit in this electrical panel, along with how many total circuits and circuit breakers can be powered by the panel.

4 - Electrical Sub Panel Location(s)
Similar to Picture 1, we need to see the location of any electrical sub panels in your home. This helps us determine the site conditions in your home and/or garage. It helps if we can see the area around the panel, especially if there are cabinets or other obstructions.
Electrical sub panels are often found in the garage, laundry room, kitchen pantry, hallway, or outside.

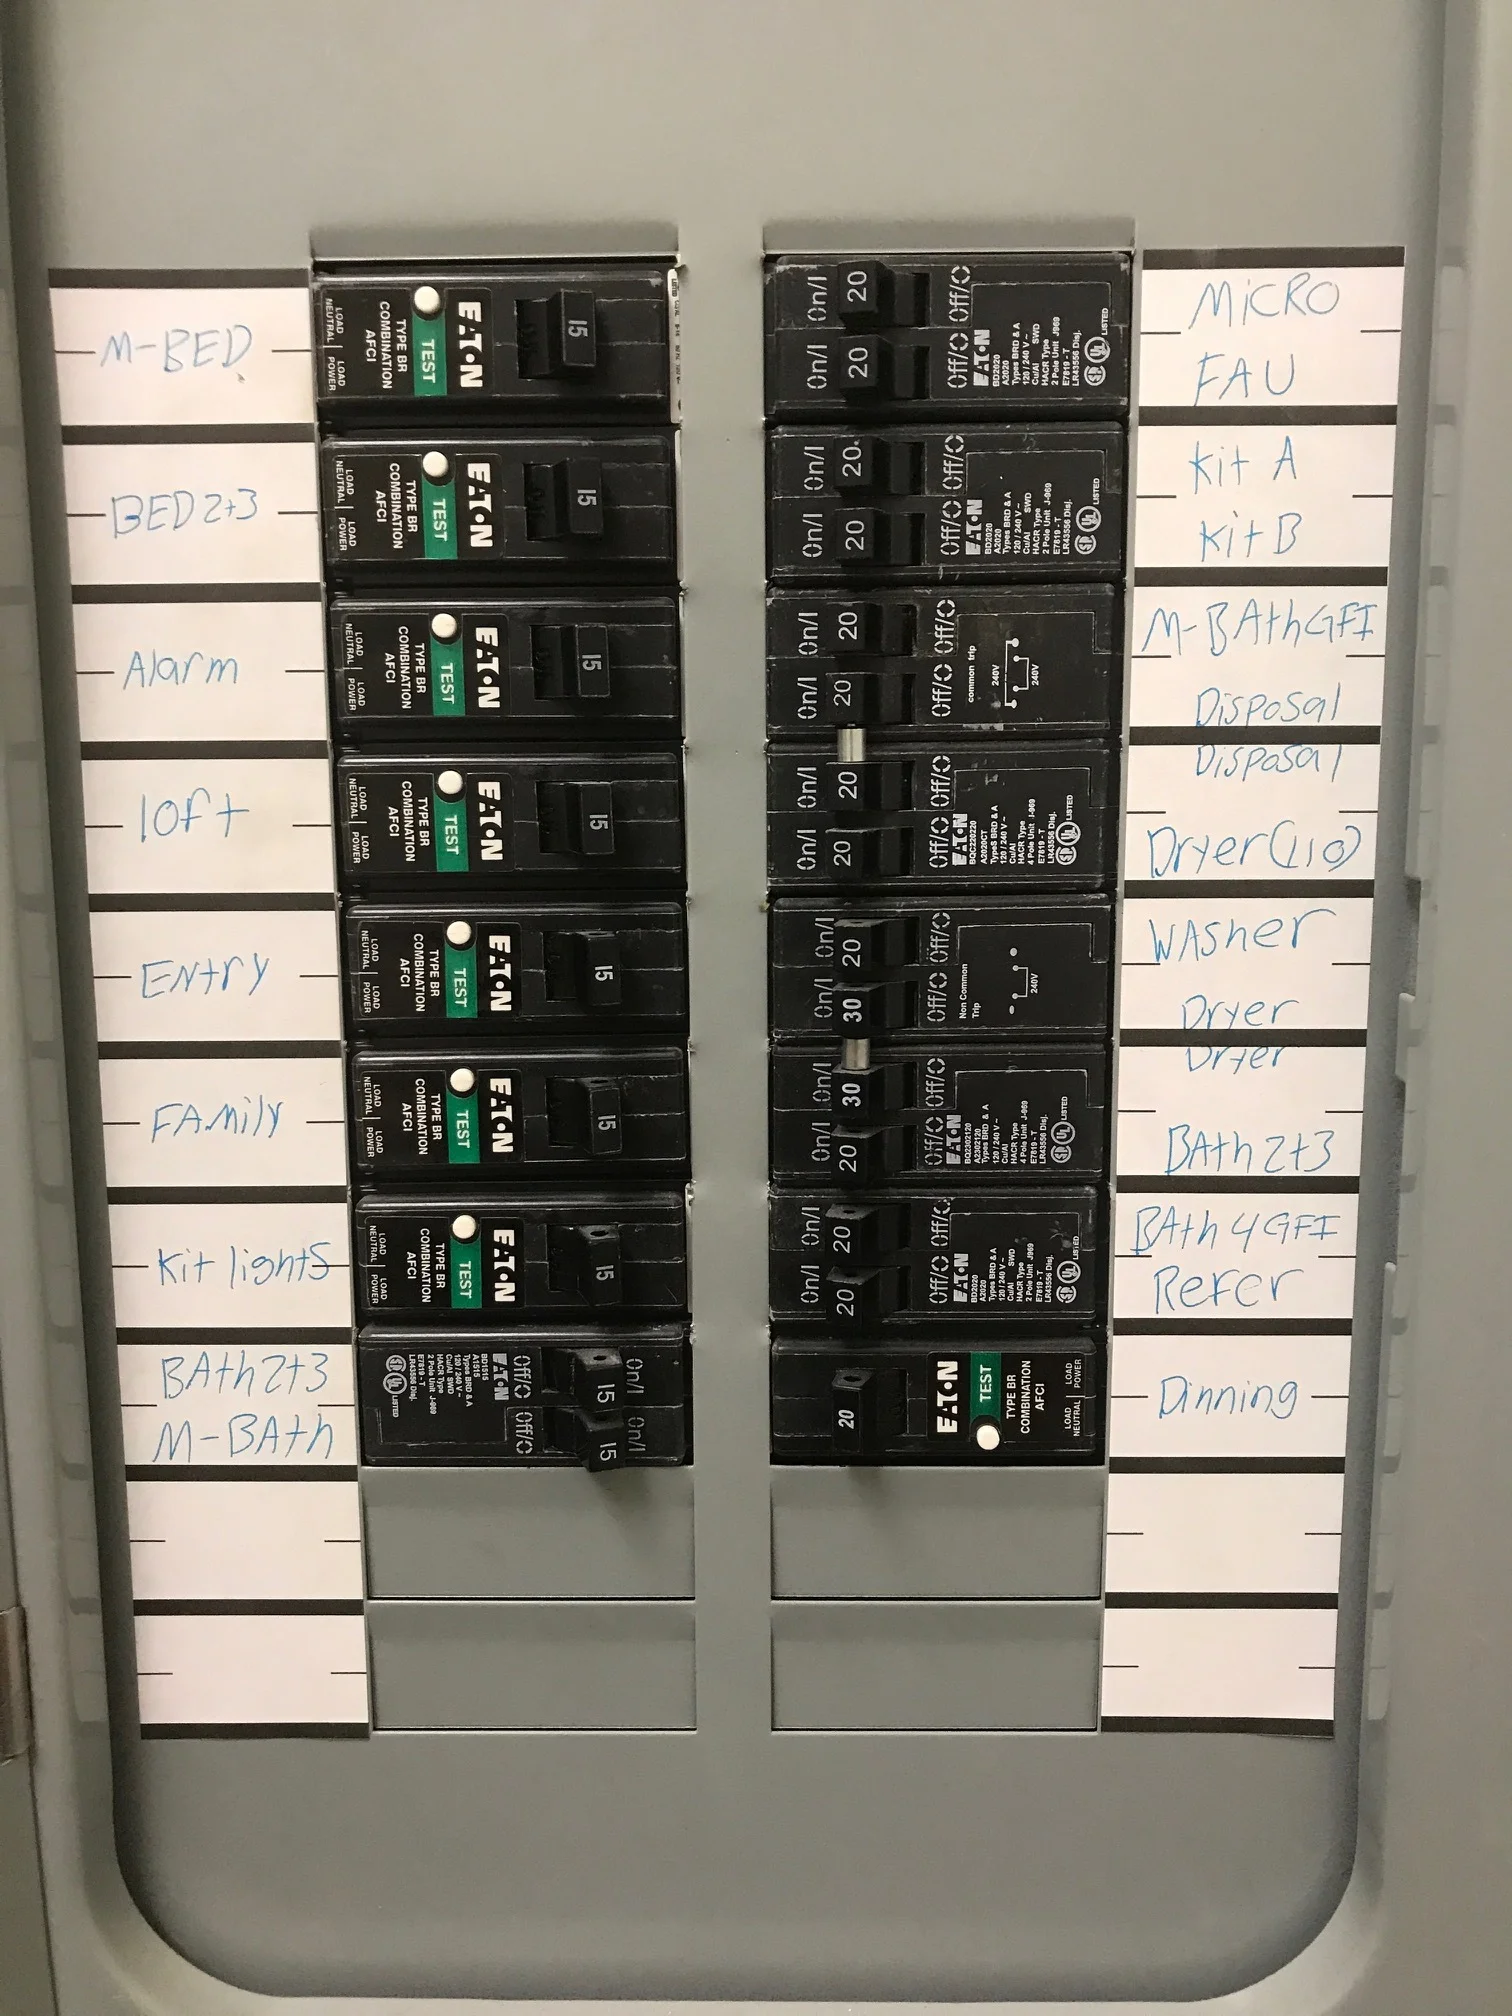
5 - Sub Panel Circuit Breakers
The circuit breakers and labeling inside your various electrical sub panels will help us confirm what larger electrical appliances your home has. We need to be able to read the numbers on the circuit breakers, along with any related circuit breaker labeling.

6 - Sub Panel's Manufacturer Label
The manufacturer’s label helps us determine what specific circuit breakers will fit in this sub panel, along with how many total circuits and circuit breakers can be powered by the panel. This label is typically on the backside of the front cover.
If there is no label, please share a picture of the backside of the cover so we don’t think you missed this picture!

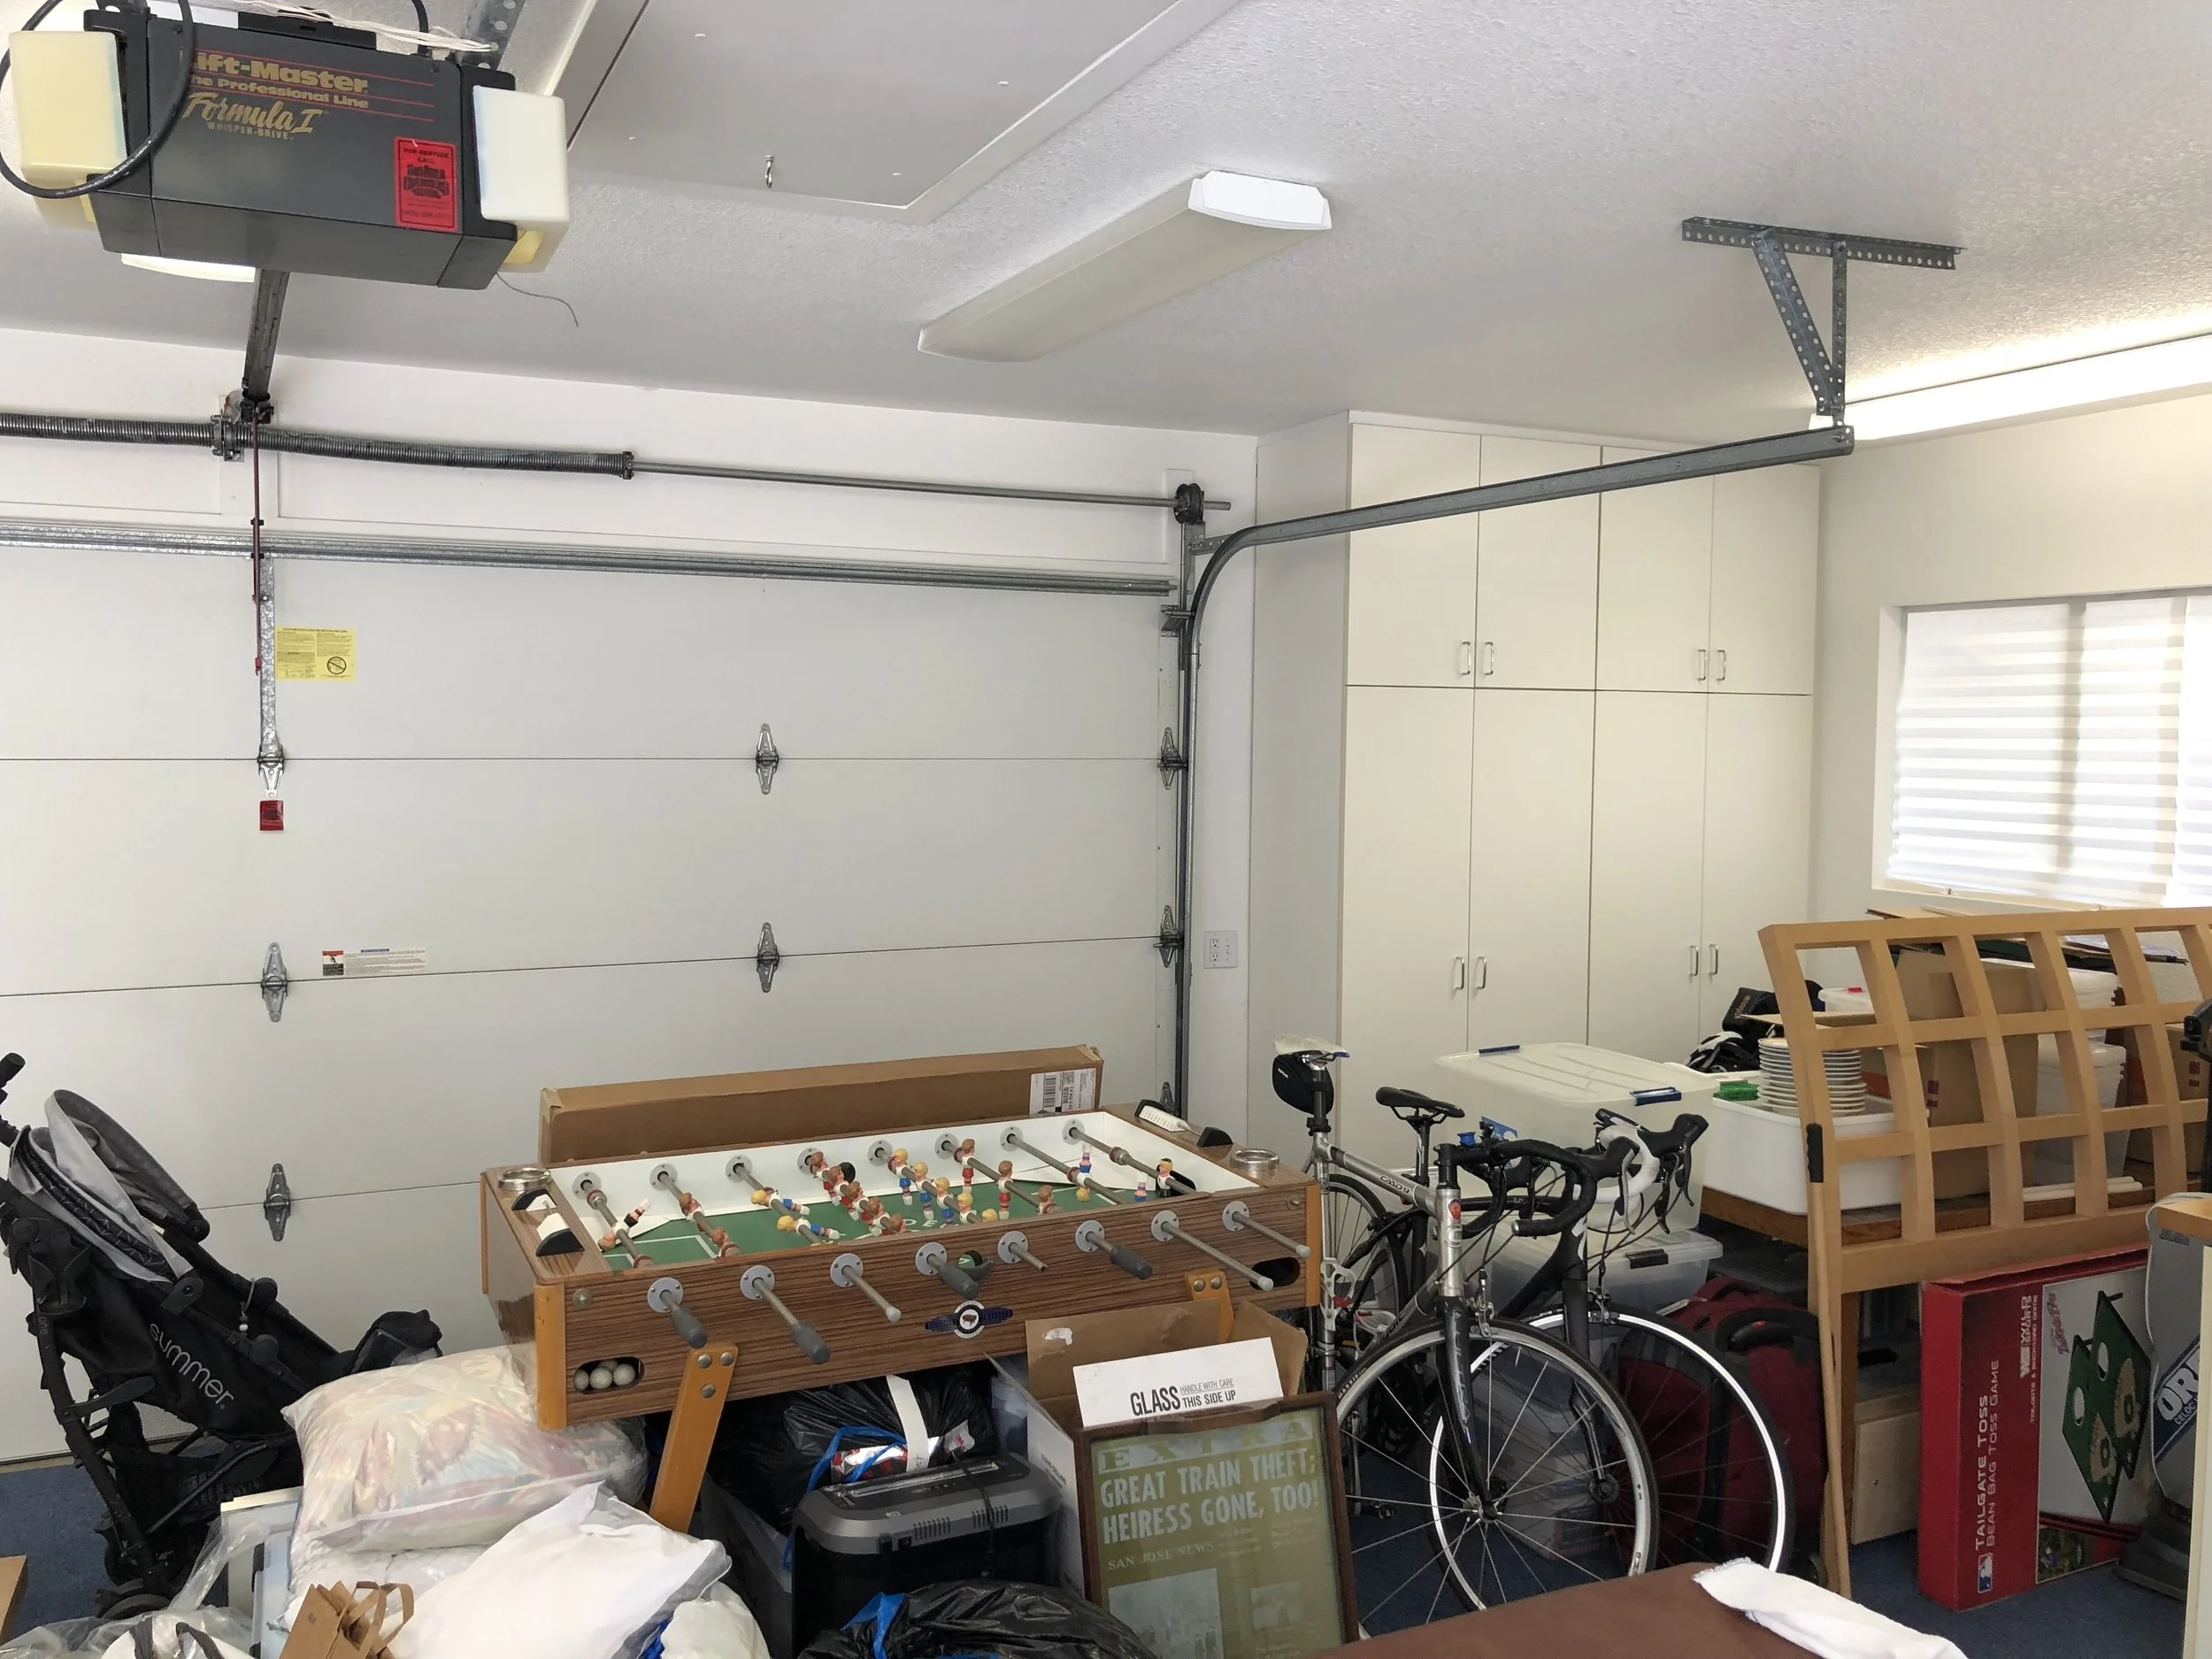
7 - Walls Inside Garage
Whether you are planning to install your charger inside the garage our outside, it is helpful to get several pictures of the walls inside the garage. This will help us know the conditions inside the garage, and whether there is space for conduit or wiring to be run.
Pictures from further back are typically much more helpful than closeup pictures of potential charger locations.

8 - Exterior Side of Garage
If you want an installation on the exterior side of your garage, please share a wide overview picture showing the desired location, along with the roof above and ground below. This helps us determine the site conditions, and whether there are any potential issues with gas meters, etc.

9 - Exterior Front of Garage
If you want an installation on the front of your garage, please share a wide overview picture showing the desired location, along with the roof above and ground below. This helps us determine the site conditions

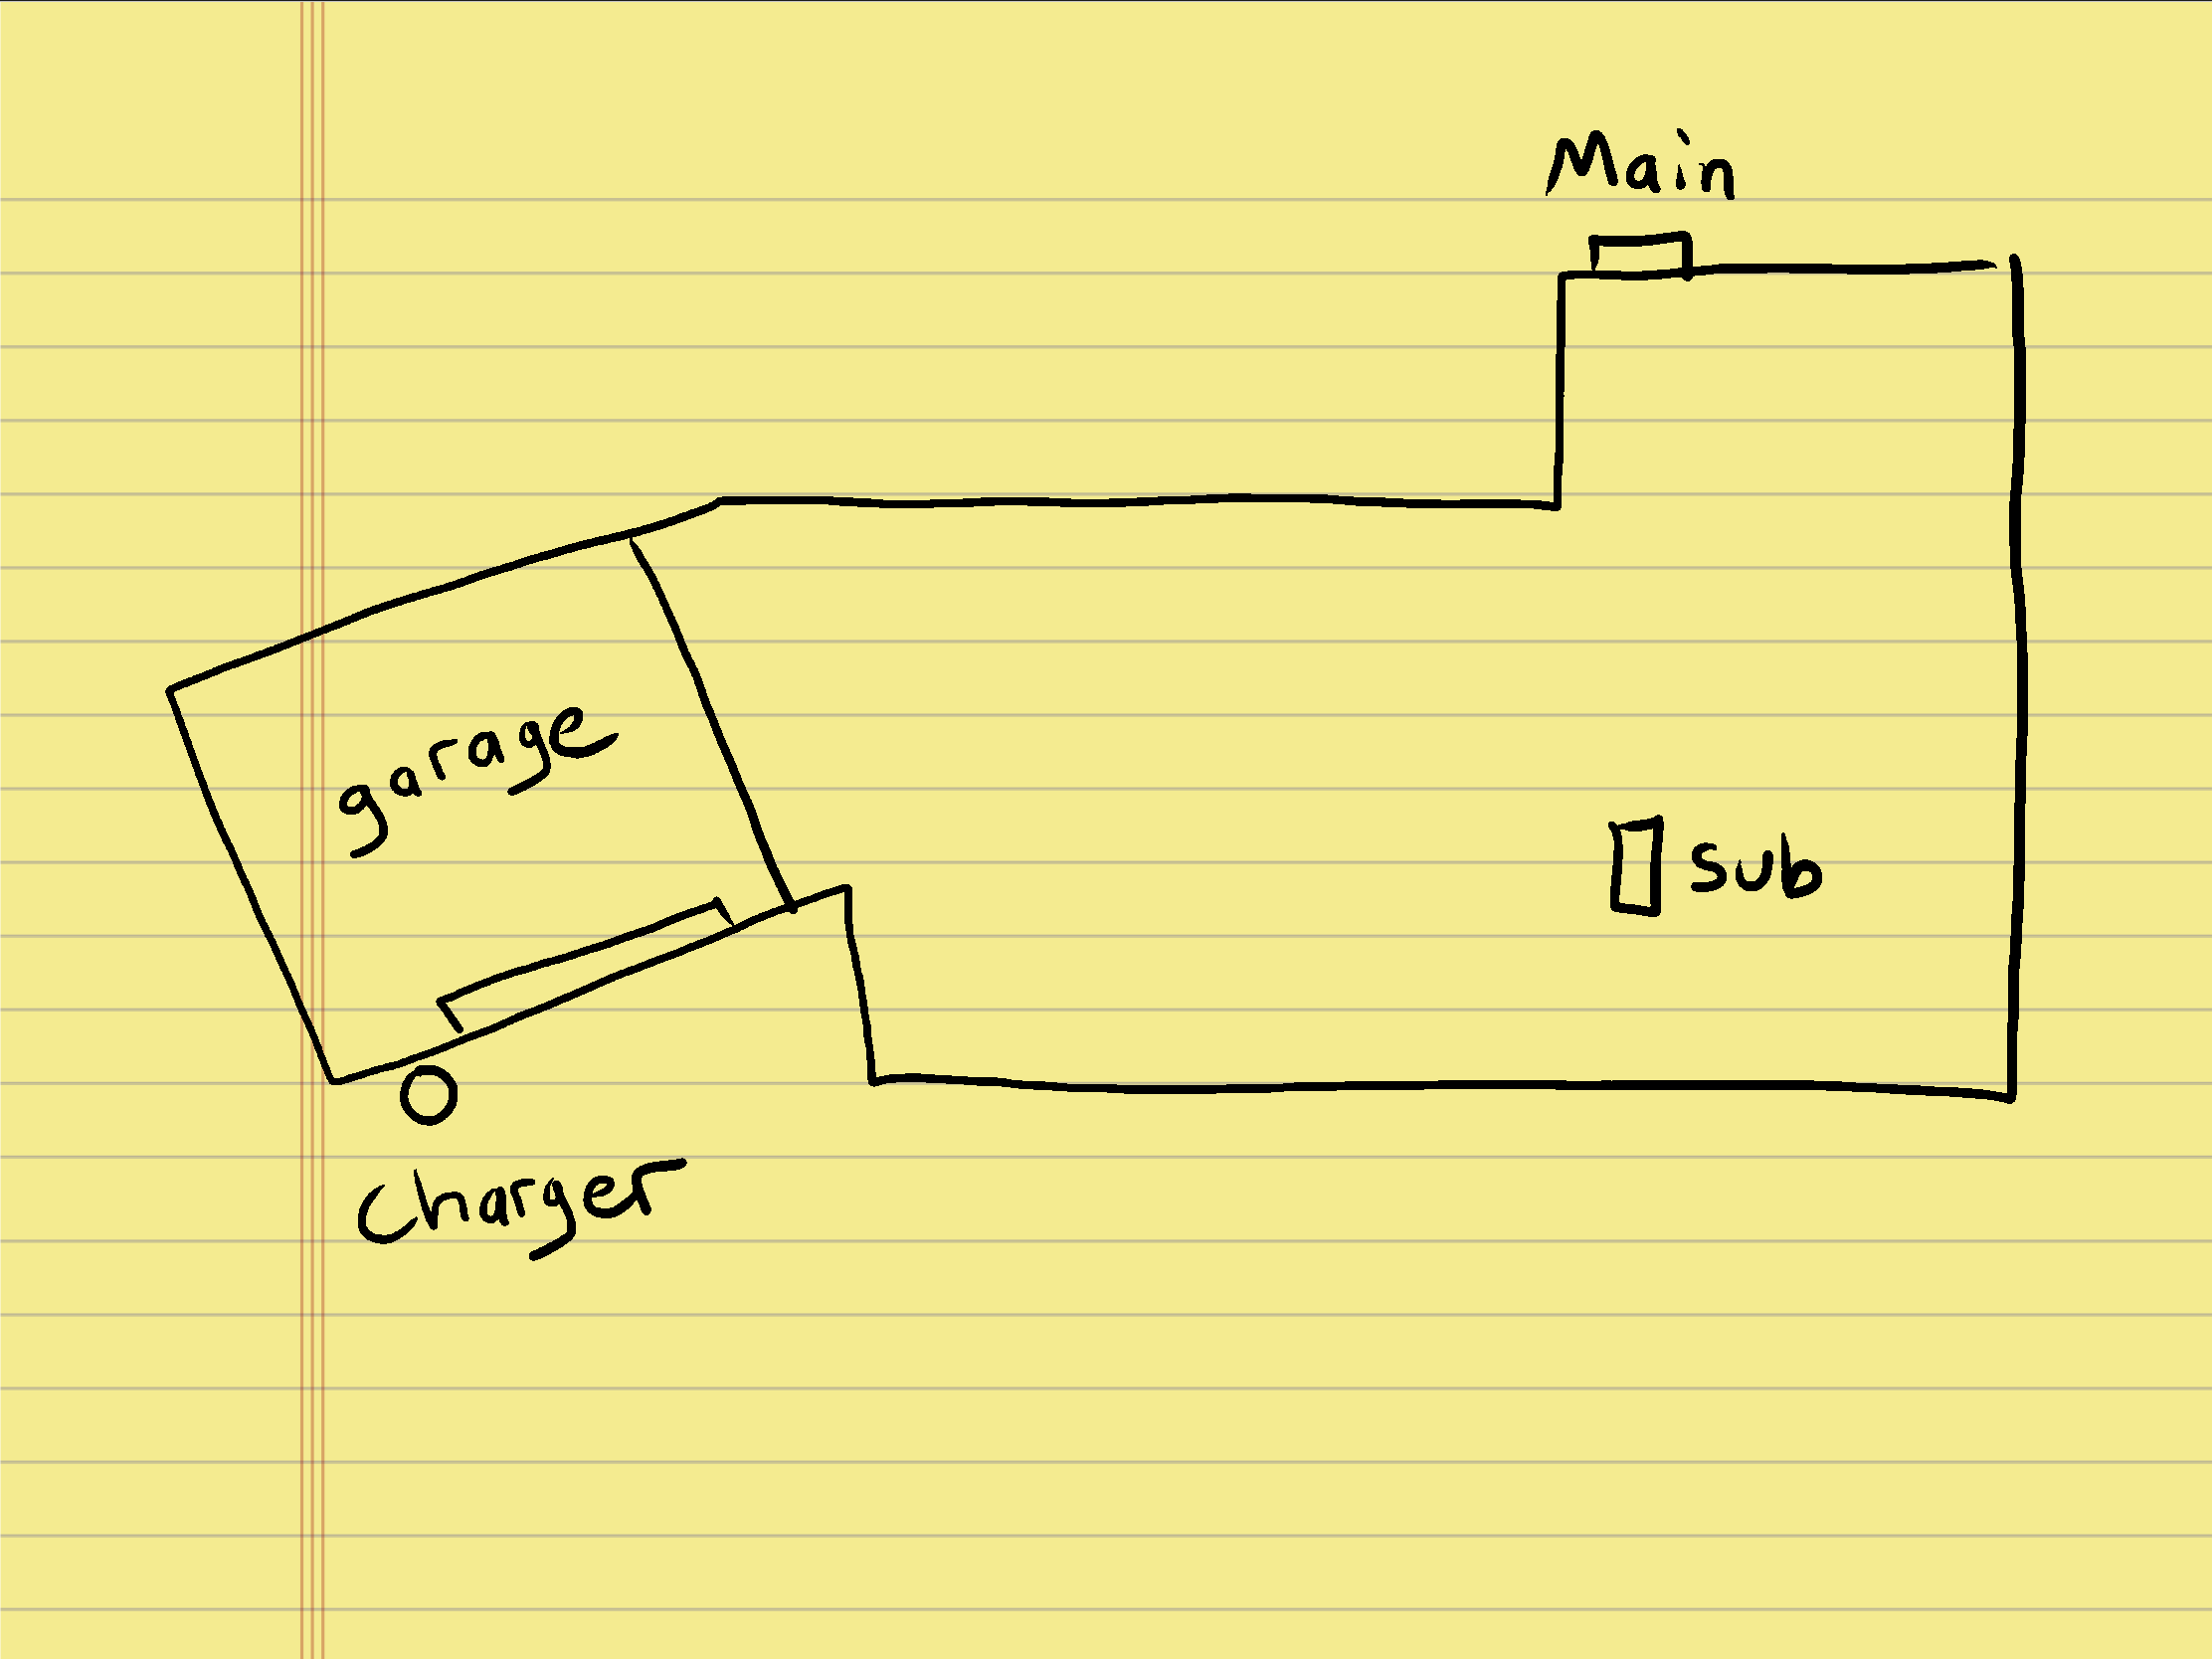
10 - House Sketch
The last picture should be a simple sketched site plan of your home, including a note for where the electrical panels are and where you want the charger to be located.
This, combined with satellite imagery from the internet, will help us understand the scope of the whole project and visualize the best way to route the charging circuit to your charging location.

Any Other Relevant Pictures?
Our requested list of pictures doesn’t always capture all the info we need for our pre-engineering work to create a good recommendation and estimate. If you think there are other pictures that will help us understand your project or home, please share as many as you would like!


